How to Set Freelance Rates
Learn how I set my freelance rates as a beginner and how you can too. Step by step tips, practical examples, and pro advice for earning what you’re worth.

How I Learned to Set Freelance Rates
When I first started freelancing, I had no clue how to price my services. I remember taking on projects for way too little just to “get experience,” and often regretted it when clients demanded extra work for free. Over time, I realized that setting the right rates is not just about making money it’s about valuing your time, skills, and growth. In this post, I’m sharing exactly how I learned to set freelance rates that feel fair, competitive, and sustainable.
Main Highlights Regarding Freelance Rates
Understanding your value as a freelancer
Calculating rates based on time, skills, and expenses
Pricing models: hourly vs project based
Negotiation tips for beginners
Real life examples from my first freelance year
Mistakes I made and how I fixed them
Materials You’ll Need
While this isn’t a DIY project, a few tools helped me set proper rates and stay organized:
Google Sheets For calculating costs, tracking hours, and comparing rates.
Trello or Notion To organize projects and deadlines.
Time tracking app (Toggl or Clockify) Essential for knowing how long tasks really take.
Freelance platforms (Upwork, Fiverr, or local networks) For market research and rate comparison.
Calculator Old school, but handy for quick checks.
Client briefs To clearly understand what you’re being asked to do.
Step by Step Guide: Setting Your Freelance Rates
Step 1: Calculate Your Minimum Acceptable Rate
I started by figuring out my monthly living costs rent, food, utilities, subscriptions, and taxes. Then I divided that by the number of billable hours I could realistically work in a month.
Example:
Monthly expenses: $1,500
Billable hours/month: 100 hours
Minimum hourly rate: $15/hour
This gave me a baseline. Anything below this, I would lose money.
Step 2: Research Market Rates
Next, I checked what others in my field were charging. I looked at freelancers on Upwork, Fiverr, and even LinkedIn. I noted ranges based on:
Experience level
Location
Project type
This helped me avoid underpricing or overpricing drastically. I realized my skill level was somewhere between beginner and intermediate, so I set my initial rate slightly above my minimum but below the average market rate.
Step 3: Choose a Pricing Model
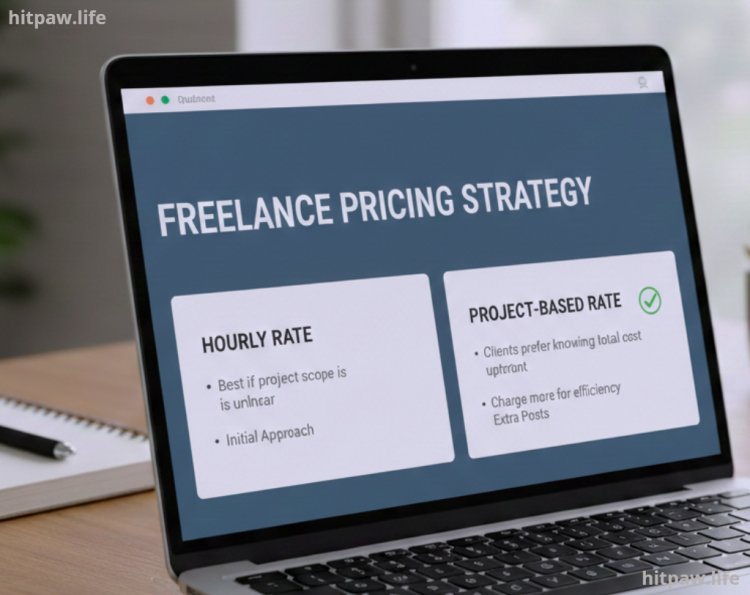
There are two main ways to charge clients:
Hourly rate Best if the project scope is unclear.
Project based rate Best for fixed deliverables.
I started with hourly rates, but after a few projects, I switched to project based pricing because clients preferred knowing the total cost upfront, and I could charge more for efficiency.
Step 4: Add a Margin for Growth & Unexpected Costs
I learned the hard way that unexpected revisions or extra hours can eat into profits. I added a 10 to 20% buffer to my rate for these risks.
For example, if a project would take 10 hours at $20/hour, I charged $220 to $240 instead of $200.
Step 5: Communicate Rates Confidently
When I started, I would almost apologize for my rates. Big mistake. I learned to present rates clearly and confidently, using phrases like:
“Based on the project scope, my fee would be $XXX.”
“This rate includes X revisions and Y deliverables.”
Confidence instantly makes clients take your pricing seriously.
Step 6: Re evaluate Regularly
After 3 to 6 months, I revisited my rates. I factored in:
Improved skills
Client feedback
Market changes
Regularly updating rates ensures I’m earning what I’m truly worth.
What I Got Wrong the First Time
I underestimated my time. I thought tasks would take 1 to 2 hours, but they often took 3 to 4.
I didn’t include revision limits. Clients asked for changes I hadn’t planned for, eating into my profits.
I compared myself to top freelancers too soon. It made me feel underqualified and undervalued.
I fixed these by tracking every hour, defining scope clearly in contracts, and researching realistic rates for beginners.
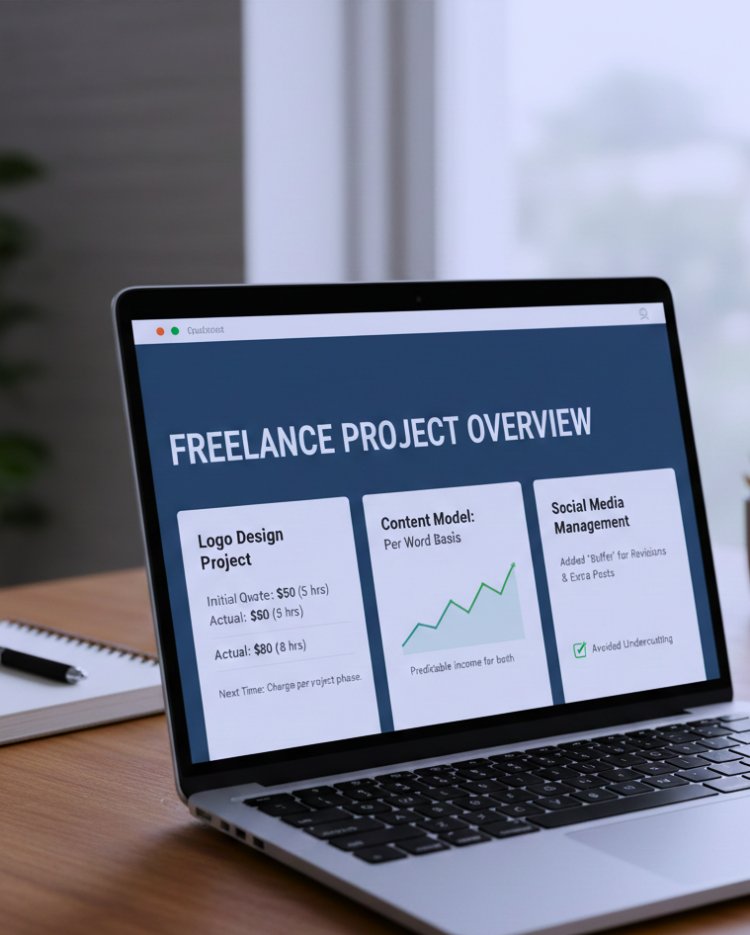
Practical Examples from My Freelance Work
Logo Design Project Initially quoted $50 for 5 hours. After tracking time, I realized I was working 8 hours, so next time I charged $80.
Content Writing Charged per word instead of per hour, which made pricing predictable for both me and the client.
Social Media Management Added a “buffer” for revisions and additional posts, which saved me from undercharging.
Maintenance Table: Freelance Rate Checklist
Tips From My Experience
One thing I learned early in freelancing is never undervalue your time. When I started, I often accepted low rates just to get clients, but I quickly realized this slowed my growth. I began tracking all my hours, calculating the real value of my work, and setting rates that covered expenses and reflected my skill level.
Another tip: communicate clearly with clients about what’s included in your rate. This prevents scope creep and ensures you get paid fairly for extra work.
Finally, always reinvest in your skills. Tools, courses, or productivity apps may cost money upfront, but they increase efficiency and allow you to charge more confidently.
In Summary
If I could give my past self some advice, the first thing I’d say is to trust the learning process. Early mistakes aren’t failures they’re lessons that help you grow faster and smarter. Every project, even the ones that went wrong, taught me something valuable about time management, client expectations, and my own limits.
I’d also remind myself to set clear boundaries with clients from the start. Saying “no” when needed isn’t rude it’s professional and protects your energy. Similarly, prioritizing time wisely and creating a structured workflow can prevent burnout, especially when juggling multiple projects.
Investing early in the right tools and skill development is another key lesson. It might feel like extra effort at first, but it pays off by making your work smoother and more efficient. Most importantly, I’d stress that consistency beats perfection. Showing up every day, even when things aren’t perfect, builds habits that lead to long term success.
FAQs About Freelance Rates for Beginners
1. How do I know if my rate is too low?
If you often feel underpaid, struggle to cover expenses, or clients ask for extra work without additional pay, your rate is likely too low.
2. Should I charge hourly or per project?
Use hourly for unclear or ongoing tasks, and project based pricing for defined deliverables. I personally mix both depending on the project.
3. Can I raise my rates after starting with a client?
Yes. Communicate professionally, explain improvements in skills or added value, and adjust rates for future projects.
4. How do I calculate my minimum rate?
Consider your monthly expenses, desired savings, taxes, and billable hours. Divide total costs by hours to get a baseline rate.
5. Should beginners offer discounts?
Only strategically for building a portfolio or gaining first clients. Avoid long term underpricing.
6. How do I factor in taxes and extra costs?
Include taxes, subscriptions, and unexpected project costs in your rate calculation to prevent losses.
7. How often should I review my rates?
I recommend reviewing every 3 to 6 months or after completing significant projects to ensure your rates reflect your growth.
What's Your Reaction?